We’ve all been there. You’re scrolling through Pinterest, mesmerized by a picture of the most decadent chocolate chip cookies, their edges perfectly browned, the centers gooey and inviting. You think, “I could totally make those!” Armed with your grandmother’s recipe and a can-do attitude, you embark on your baking journey. But somewhere between the oven preheating and the timer going off, things go awry. Your cookies emerge flat, burnt, or worse…pale and doughy. What went wrong?
While quality ingredients and a trusty recipe are crucial, there’s a secret ingredient often overlooked: timing. Yes, baking is a science, and timing plays a critical role in achieving those picture-perfect results. It’s not just about how long something bakes, but also about the timing of each step, from prepping your ingredients to cooling your finished product.
The Time Before Time: Prepping for Baking Success
Before you even think about preheating your oven, consider this: proper preparation is half the battle won. This crucial stage sets the foundation for timing success in your baking endeavors.
Bringing Ingredients to Temperature
Ever notice how recipes often call for “room temperature” ingredients? This isn’t arbitrary. The temperature of your ingredients can significantly impact the final texture and consistency of your baked goods.
- Butter: Room temperature butter creams more easily with sugar, creating those coveted air pockets that contribute to a light and fluffy texture. Cold butter won’t incorporate as well, resulting in dense, tough baked goods.
- Eggs: Room temperature eggs are less likely to shock and seize when added to warmer ingredients, leading to a more even rise and a smoother batter.
Pro Tip: Take your butter and eggs out of the refrigerator at least an hour before you plan to bake.
The Importance of Precise Measurements
Baking is a science, and precision matters. Using too much or too little of an ingredient can throw off the entire recipe, impacting both taste and texture. Invest in accurate measuring tools, like kitchen scales and measuring cups and spoons, to ensure consistency every time you bake.
Proofing Your Yeast: Patience is a Virtue
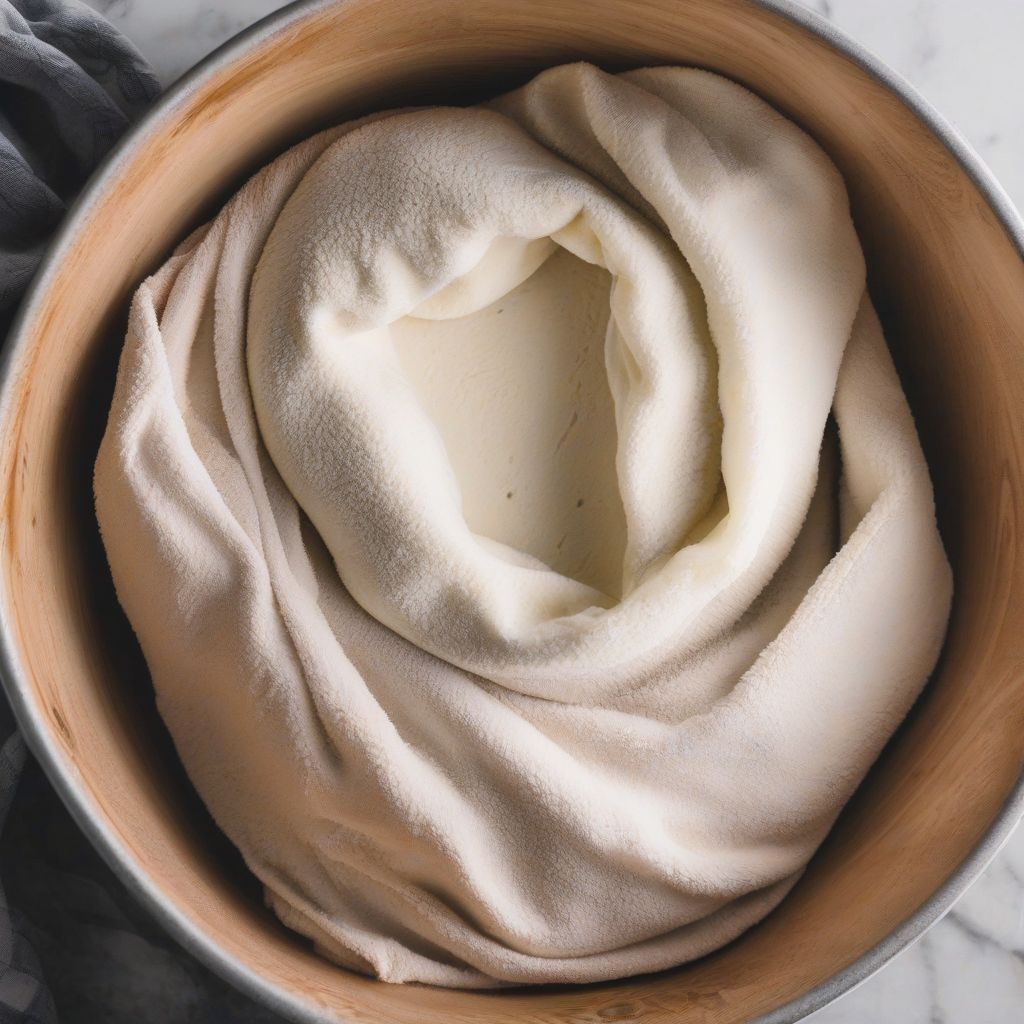
If you’re working with yeast-based doughs, like breads, cinnamon rolls, or pizza crust, understanding the role of proofing is essential. Proofing is the process where yeast feeds on the sugars in your dough, producing carbon dioxide bubbles that give your bread its airy texture.
Timing is everything when it comes to proofing:
- Under-proofing: Results in dense, flat baked goods.
- Over-proofing: Can cause your dough to collapse in the oven, leading to a dense, uneven texture.
Always follow the recipe’s instructions for proofing time and look for visual cues like doubled in size.
 Proofing Dough
Timing During Baking: The Heat is On!
Now that your ingredients are prepped and ready, it’s time to preheat that oven. Here’s where timing becomes especially critical.
Understanding Oven Temperatures
Every oven is different. Some ovens run hotter or cooler than others, even when set to the same temperature. Investing in an oven thermometer can help you gauge your oven’s actual temperature, allowing you to adjust baking times accordingly.
The Importance of Rotating and Testing for Doneness
- Rotation: Most ovens have hot spots. Rotating your baked goods halfway through baking ensures even cooking and prevents burning or underbaking.
- Testing for Doneness: Don’t rely on baking times alone. Every oven and every batch is slightly different. Use visual cues and the toothpick test to determine doneness.
The Final Act: Cooling and Setting the Stage
The baking process doesn’t end when the timer goes off! Proper cooling is crucial for allowing your treats to set, develop their final texture, and achieve peak deliciousness.
Cooling Cakes and Quick Breads
- Cakes: Cool cakes in their pans for about 10-15 minutes before inverting them onto a wire rack to cool completely. This prevents them from sticking and breaking.
- Quick Breads: Cool quick breads, like banana bread or muffins, in their pan for 10 minutes before transferring them to a wire rack to prevent them from becoming soggy.
Cookies: Achieving That Perfect Texture
Cookies continue to bake for a short time on the hot baking sheet even after you take them out of the oven. This allows them to set and develop their ideal texture: crispy edges and chewy centers.
Pro Tip: For extra chewy cookies, slightly underbake them.
The Role of Timing: It’s More Than Just a Number
Mastering the role of timing in baking is about more than just following a recipe’s instructions. It’s about understanding the “why” behind each step and how it contributes to the final product.
Here are some additional tips to help you become a timing master in the kitchen:
- Read the recipe thoroughly before starting. This will help you understand the flow of the recipe and the importance of each step.
- Use a timer! Don’t rely on your memory, especially when juggling multiple tasks.
- Don’t be afraid to experiment. Every oven is different, so what works for one person may not work for another. Keep track of your baking times and make adjustments as needed.
[amazon bestseller=”baking timer”]
Baking is a journey, and like any good journey, it’s about enjoying the process. Don’t be discouraged if your first attempts aren’t perfect. With practice, patience, and a little help from understanding the importance of timing, you’ll be wowing your friends and family with bakery-worthy treats in no time!
