
There’s something almost magical about the smell of freshly baked bread wafting through the kitchen. It evokes a sense of warmth, comfort, and pure happiness. Baking bread, however, can seem like an intimidating task, especially for beginners. But I’m here to tell you that achieving that perfect golden crust and soft, airy crumb is completely attainable, even if you’re a novice baker.
As a nutritionist and meal prepping coach, I’ve always believed that healthy eating doesn’t have to mean sacrificing flavor or satisfaction. Baking your own bread not only allows you to control the ingredients (hello, whole grains and seeds!), but it also gives you the freedom to experiment with different flavors and textures.
So, whether you’re a seasoned baker or just starting your bread-making journey, get ready to roll up your sleeves and dive into the wonderful world of bread baking! Together, we’ll explore the essential techniques, key ingredients, and troubleshooting tips that will empower you to bake the perfect loaf of bread, every time.
Understanding the Basics: Ingredients and Equipment
Before we embark on our bread-baking adventure, let’s gather our essential tools and ingredients. Don’t worry, you won’t need a fancy bread maker for this – just a few basic kitchen staples and a little bit of patience.
Key Ingredients:
- Flour: The foundation of any good loaf, flour provides the structure and texture to your bread. All-purpose flour works well for most recipes, but experimenting with bread flour (higher protein content for chewier loaves) or whole wheat flour (nutty flavor and added fiber) can be fun!
- Yeast: The heart of your bread, yeast is a live microorganism that works its magic by fermenting the sugars in the dough, creating air bubbles that give bread its rise and airy texture. You can use active dry yeast, instant yeast, or even fresh yeast, depending on your preference and recipe.
- Water: Water hydrates the flour and activates the yeast, bringing your dough to life. The temperature of the water is crucial for yeast activity – lukewarm water (around 100-110°F) is ideal.
- Salt: Salt is a flavor enhancer, but it also plays a vital role in controlling yeast activity and strengthening the gluten structure of the dough.
- Sugar (optional): While not strictly necessary, a touch of sugar can help feed the yeast and enhance browning.
Essential Equipment:
- Mixing Bowls: You’ll need two bowls – a large one for mixing and kneading the dough, and a smaller one for proofing the yeast.
- Measuring Cups and Spoons: Accurate measurements are key in baking, so having a set of measuring cups and spoons is essential.
- Kitchen Scale (optional but recommended): While not mandatory, a kitchen scale can significantly improve the accuracy of your measurements, especially when working with flour.
- Wooden Spoon or Stand Mixer: You can mix your dough by hand using a sturdy wooden spoon, or if you have a stand mixer, the dough hook attachment will make the process much easier.
- Proofing Container or Plastic Wrap: A warm, draft-free environment is essential for yeast to do its job. You can use a proofing container or simply cover your mixing bowl with plastic wrap.
- Baking Sheet or Loaf Pan: Depending on the type of bread you’re baking, you’ll need either a baking sheet for free-form loaves or a loaf pan for a more traditional shape.
- Parchment Paper or Cooking Spray: To prevent sticking, line your baking sheet or loaf pan with parchment paper or lightly grease it with cooking spray.
Step-by-Step Guide to Baking Perfection
Now that we have our ingredients and equipment ready, let’s dive into the step-by-step process of baking a beautiful loaf of bread.
1. Awakening the Yeast: Proofing
- In a small bowl, combine the yeast, warm water (around 100-110°F), and a pinch of sugar.
- Gently stir the mixture and let it sit for 5-10 minutes. If the yeast is active, you’ll notice it becoming foamy and bubbly on the surface – this means it’s ready to work its magic!
Expert Tip: If your yeast doesn’t foam, it might be old or inactive. Always check the expiration date on your yeast packet.
2. Combining the Ingredients: Mixing the Dough
- In a large mixing bowl, whisk together the flour and salt.
- Make a well in the center of the flour mixture and pour in the proofed yeast mixture.
- Gradually incorporate the flour into the yeast mixture, using a wooden spoon or the dough hook attachment of your stand mixer.
- Continue mixing until a shaggy dough forms.
3. Developing Strength: Kneading the Dough
- Turn the dough out onto a lightly floured surface and begin kneading. Kneading helps develop the gluten, a protein that gives bread its structure and elasticity.
- To knead, use the heel of your hand to push the dough down and forward. Fold the dough in half towards you, give it a quarter turn, and repeat the pushing and folding motion.
- Knead for 8-10 minutes, or until the dough becomes smooth, elastic, and springs back when you poke it gently with your finger.
Expert Tip: If the dough feels too sticky, add a tablespoon of flour at a time until it becomes manageable.
4. The First Rise: Proofing the Dough
- Lightly grease a large bowl with oil or cooking spray. Place the kneaded dough in the bowl, turning it to coat it evenly with the oil.
- Cover the bowl with plastic wrap or a damp kitchen towel and let the dough rise in a warm, draft-free place for 1-2 hours, or until doubled in size.
Expert Tip: To test if the dough has risen enough, gently poke it with your finger. If the indentation slowly springs back, it’s ready for the next step.
5. Shaping and Second Rise
- Gently punch down the risen dough to release any air bubbles.
- Turn the dough out onto a lightly floured surface and shape it into a loaf. You can make a round loaf, a baguette, or use a loaf pan for a more uniform shape.
- Place the shaped dough on a baking sheet lined with parchment paper or in a greased loaf pan.
- Cover the loaf loosely with plastic wrap or a damp kitchen towel and let it rise for another 30-60 minutes, or until almost doubled in size.
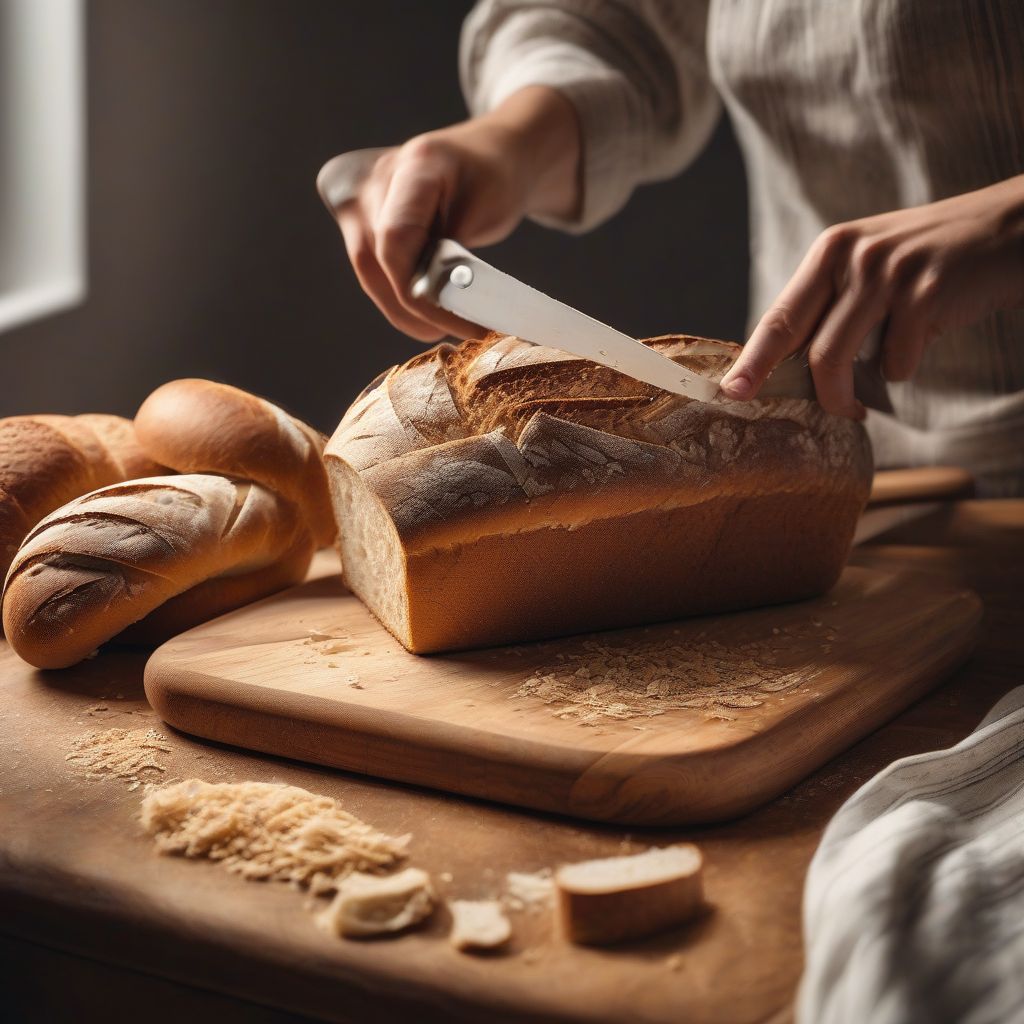
6. Creating the Perfect Crust: Scoring
- Preheat your oven to 400°F (200°C).
- Just before baking, use a sharp knife or a lame (a specialized bread-scoring tool) to make shallow slashes across the top of the loaf. This scoring allows the bread to expand during baking and creates those beautiful, artisanal-looking patterns.
7. The Grand Finale: Baking
- Bake the loaf for 30-35 minutes, or until golden brown and the bread sounds hollow when tapped on the bottom.
- If you’re using a loaf pan, you can check the internal temperature of the bread with an instant-read thermometer. The bread is fully cooked when it reaches an internal temperature of 190-200°F (88-93°C).
8. Cooling and Enjoying
- Once baked, remove the bread from the oven and let it cool on a wire rack before slicing and serving.
Expert Tip: Resist the temptation to cut into the bread while it’s still hot! Allowing it to cool completely prevents the crumb from becoming gummy.
 Baking Bread
[amazon bestseller=”bread baking”]
Conclusion
Baking the perfect loaf of bread is a journey that involves both science and art. It’s about understanding the role of each ingredient, mastering the techniques, and adding your own personal touch. Remember, practice makes perfect, and don’t be afraid to experiment! The more you bake, the more confident you’ll become.
So, gather your ingredients, put on your apron, and let the irresistible aroma of freshly baked bread fill your kitchen. And most importantly, enjoy the process – every knead, every rise, and every delicious bite.