
Have you ever excitedly pulled a freshly baked cake from the oven, only to find half of it stubbornly clinging to the pan? Every baker’s been there! The secret to flawless baking goes beyond just nailing the recipe—it starts with properly prepping your baking pans and molds. Whether you’re a seasoned pro or just starting out, mastering the art of pan preparation can mean the difference between a baking triumph and a crumbly disaster.
This comprehensive guide will walk you through the best ways to prepare your baking pans and molds, ensuring your baked creations release easily and bake evenly every time.
Why Proper Pan Preparation Matters
Before we dive into the how-to, let’s discuss why proper pan preparation is crucial for baking success.
- Effortless Release: The last thing you want is for your beautiful cake or delicate cookies to stick to the pan. Properly preparing your pans ensures an easy and clean release, preserving the shape and texture of your baked goods.
- Even Baking: Greasing and flouring a pan, or lining it with parchment paper, helps to conduct heat evenly, preventing hot spots and ensuring your baked goods cook uniformly.
- Golden Brown Finish: Proper preparation promotes a beautiful, evenly browned crust, enhancing both the appearance and flavor of your creations.
- Easy Cleanup: Let’s face it, cleaning up is the least fun part of baking. Preparing your pans makes washing a breeze, so you can spend less time scrubbing and more time enjoying your treats!
Choosing the Right Pan Preparation Method
The best method for prepping your baking pans depends largely on the recipe and the type of pan you’re using. Here’s a breakdown of the most common methods:
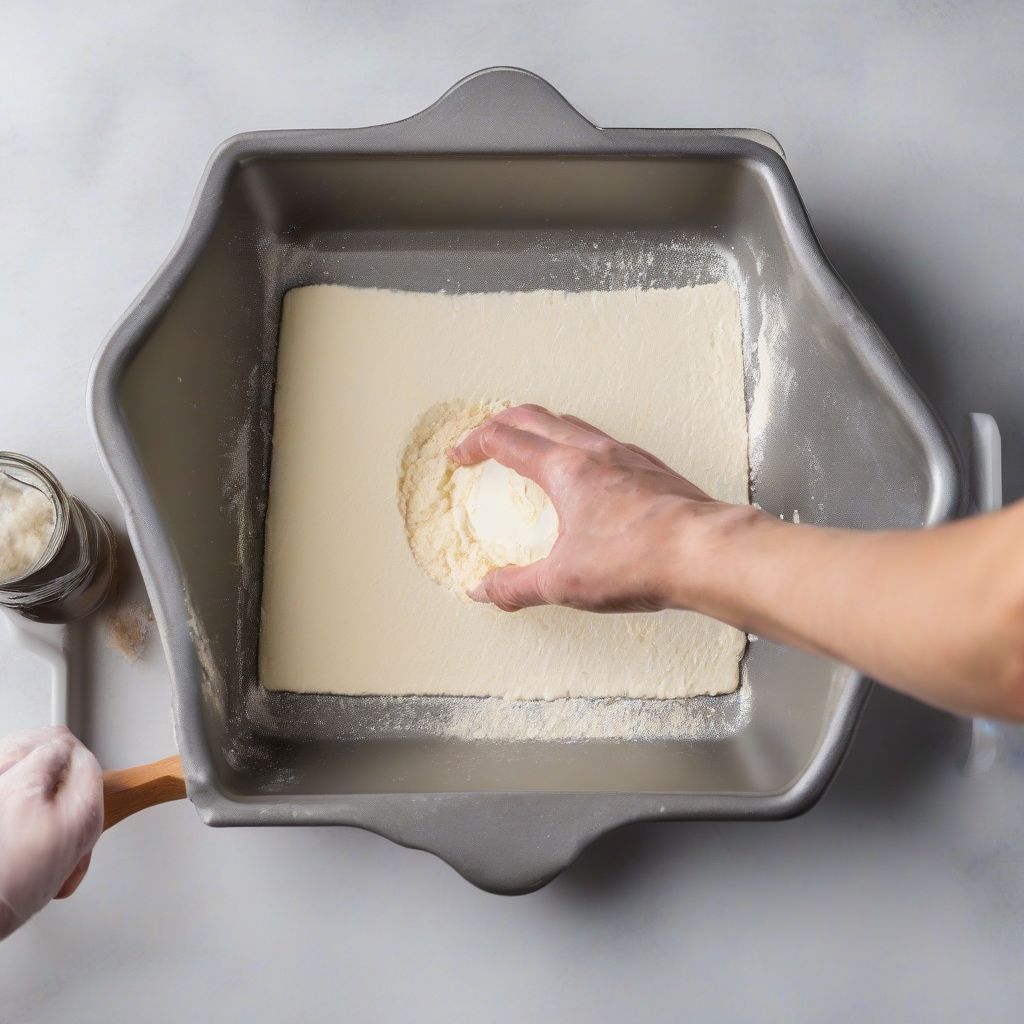
1. Greasing and Flouring
This classic method is perfect for cakes, quick breads, and muffins. The fat prevents sticking, while the flour helps to create a barrier between the batter and the pan, ensuring a clean release.
Here’s how to do it:
- Grease: Use softened butter, shortening, or cooking spray to evenly coat the bottom and sides of the pan. For intricate designs, a pastry brush is your best friend.
- Flour: Sprinkle flour into the greased pan, rotating it to ensure all surfaces are lightly dusted. Invert the pan and tap gently to remove any excess flour.
2. Parchment Paper
Parchment paper is a baker’s best friend! It creates a completely nonstick surface and makes cleanup a cinch. It’s ideal for cakes, brownies, and even savory dishes like casseroles.
How to line a pan with parchment paper:
- Trace and Cut: Place your pan on a sheet of parchment paper and trace around the base. Cut out the shape, ensuring it fits snugly.
- Grease (Optional): For extra assurance, lightly grease the pan before placing the parchment paper inside. This helps the paper adhere and prevents any shifting.
3. Silicone Baking Mats
Silicone baking mats are reusable, nonstick wonders that eliminate the need for greasing and flouring. They’re perfect for cookies, pastries, and even roasting vegetables.
Using silicone baking mats:
- Place on Baking Sheet: Simply place the silicone mat on a baking sheet – no greasing required!
4. Choosing the Right Fat
While butter adds a touch of flavor, shortening creates a slightly stronger barrier against sticking. Unsalted butter is generally preferred for baking to control the overall salt content.
5. Don’t Overdo It
When it comes to greasing and flouring, less is more. A thin, even layer is all you need. Too much can create a cakey texture on the outside of your baked goods.
Special Considerations for Different Pans
Different pans often call for specific preparation methods to achieve the best results:
- Bundt Pans: These intricate pans require a thorough greasing and flouring, paying special attention to all the nooks and crannies. Alternatively, use a baking spray with flour for a more even coating.
- Springform Pans: Grease and flour the base and sides of the springform pan as usual. However, to prevent leaks, wrap the outside of the base with a double layer of aluminum foil before adding the batter.
- Glass Pans: Glass pans tend to retain more heat than metal pans. When using glass, reduce the oven temperature by 25 degrees Fahrenheit to prevent over-browning.
 Baking Pan Preparation
Troubleshooting Common Baking Pan Problems
Even with the best preparation, you might encounter some common baking pan issues. Here’s how to troubleshoot them:
- Food sticking to the pan: If your baked goods stick despite greasing and flouring, try using parchment paper next time. For stuck-on messes, soak the pan in warm, soapy water to loosen the residue before scrubbing.
- Uneven baking: Make sure your oven is properly calibrated and avoid overcrowding the oven, which can affect heat circulation. Using high-quality baking pans that distribute heat evenly is also essential.
Conclusion: Bake with Confidence!
Mastering the art of preparing your baking pans and molds empowers you to create baking masterpieces with ease and confidence. By following these tips and tricks, you’ll be well on your way to achieving flawless results and impressing everyone with your baking prowess. Remember, a little pan preparation goes a long way in ensuring your baked creations turn out picture-perfect every time!
Now that you’re armed with these baking pan preparation secrets, what delicious treats will you bake? Share your baking triumphs and tips in the comments below!
[amazon bestseller=”baking-sheets”]