
Have you ever dreamt of baking light, fluffy bread or perfectly textured cakes that leave everyone wanting more? The secret often lies in the foundational techniques of kneading dough and mixing batter. While it might seem simple, mastering these techniques can dramatically elevate your baking game.
As a nutritionist and meal-prep coach, I understand the importance of healthy eating and home-cooked meals. And what’s better than freshly baked goodies made with love? Let’s dive into the world of flour, water, and yeast to discover the best techniques for kneading dough and mixing batter.
Understanding Kneading Dough: Why is it Important?
Kneading is a crucial step in bread baking that involves working the dough with your hands to develop gluten. Gluten, a protein found in wheat, forms a network that traps air, giving bread its structure and chewy texture.
The Importance of Kneading
- Gluten Development: Kneading helps lengthen and align gluten strands, creating a strong, elastic network. This allows the dough to stretch and hold onto the gases produced by yeast during fermentation, resulting in a well-risen loaf with a light and airy crumb.
- Texture and Crumb: Proper kneading ensures a smooth, pliable dough with a consistent texture. Under-kneaded dough results in dense, heavy bread, while over-kneading can create a tough, chewy texture.
- Flavor Development: Kneading helps distribute yeast and sugars evenly throughout the dough, promoting consistent fermentation and flavor development.
Kneading Techniques: From Beginner to Pro
1. The Classic Knead
This technique is perfect for beginners and works well for most bread recipes.
- Step 1: Turn the dough out onto a lightly floured surface.
- Step 2: Using the heel of your hand, push the dough away from you in a forward motion.
- Step 3: Fold the dough in half towards you, give it a quarter turn, and repeat the pushing and folding motion.
- Step 4: Continue kneading for the time specified in your recipe, usually 8-10 minutes. The dough should become smooth, elastic, and spring back when poked.
2. The Slap and Fold
This technique is great for high-hydration doughs that are wet and sticky.
- Step 1: Start with the dough in a large bowl.
- Step 2: Lift the dough with one hand and slap it down on the work surface.
- Step 3: Fold the dough in half, rotate it 90 degrees, and repeat the slapping and folding.
- Step 4: Continue until the dough becomes less sticky and more cohesive, about 5-7 minutes.
3. The Stretch and Fold
This gentle method is ideal for no-knead bread or doughs with a high percentage of whole grains.
- Step 1: Lightly oil a large bowl.
- Step 2: Every 30-60 minutes, gently stretch one side of the dough and fold it over the top.
- Step 3: Rotate the bowl and repeat the stretching and folding on all four sides.
- Step 4: Continue for 2-3 hours, or until the dough has doubled in size and has a web-like structure.
Tips for Successful Kneading
- Flour Your Surface (Sparingly): Use just enough flour to prevent sticking, but avoid adding too much, which can make the dough tough.
- Use the Right Tools: A dough scraper is helpful for handling sticky dough and cleaning your work surface.
- Don’t Over-Knead: Over-kneading can create a dense, tough bread. Stop kneading when the dough is smooth and elastic.
- The Windowpane Test: To check if you’ve kneaded the dough enough, take a small piece and gently stretch it. If you can stretch it thin enough to see light through it without tearing, the gluten is well developed.
Mastering Batter: Techniques for Perfect Cakes and More
Mixing batter involves combining ingredients to create a smooth, aerated mixture. The method you use depends on the type of batter and the desired texture.
Common Batter Types
- Pour Batter: Thin and pourable, used for pancakes, crepes, and waffles.
- Drop Batter: Thicker than pour batter, used for muffins, quick breads, and some cookies.
- Cake Batter: Smooth and spreadable, used for cakes, cupcakes, and some cookies.
Mixing Techniques: Finding the Right Balance
1. The Muffin Method
This simple method is perfect for quick breads, muffins, and some cookies.
- Step 1: Combine all dry ingredients in one bowl and all wet ingredients in another.
- Step 2: Make a well in the center of the dry ingredients and pour in the wet ingredients.
- Step 3: Stir gently with a whisk or rubber spatula until just combined. Do not overmix.
2. The Creaming Method
This technique creates light and airy cakes, cupcakes, and some cookies.
- Step 1: Cream together softened butter and sugar until light and fluffy.
- Step 2: Add eggs one at a time, mixing well after each addition.
- Step 3: Gradually add the dry ingredients alternately with the liquid ingredients, beginning and ending with the dry ingredients. Mix until just combined.
3. The Whisking Method
This method is used for cakes, such as angel food cake and sponge cake, that rely on beaten egg whites for their airy texture.
- Step 1: Beat egg whites with sugar until stiff peaks form.
- Step 2: Gently fold in the dry ingredients, being careful not to deflate the egg whites.
Tips for Successful Batter Mixing
- Use Room Temperature Ingredients: Room temperature ingredients blend together more easily and create a smoother batter.
- Don’t Overmix: Overmixing can develop too much gluten, leading to tough cakes and muffins.
- Use the Right Tool for the Job: A whisk is best for incorporating air, while a rubber spatula is ideal for gently folding ingredients.
- Scrape the Bowl: Make sure to scrape the sides and bottom of the bowl to ensure all ingredients are evenly incorporated.
Kneading and Mixing: Essential Skills for Baking Success
Mastering the techniques of kneading dough and mixing batter unlocks endless possibilities in the kitchen. Whether you’re a seasoned baker or just starting out, understanding these fundamental skills will undoubtedly elevate your baking game. Remember to always follow recipe instructions carefully, but don’t be afraid to experiment and find what works best for you.
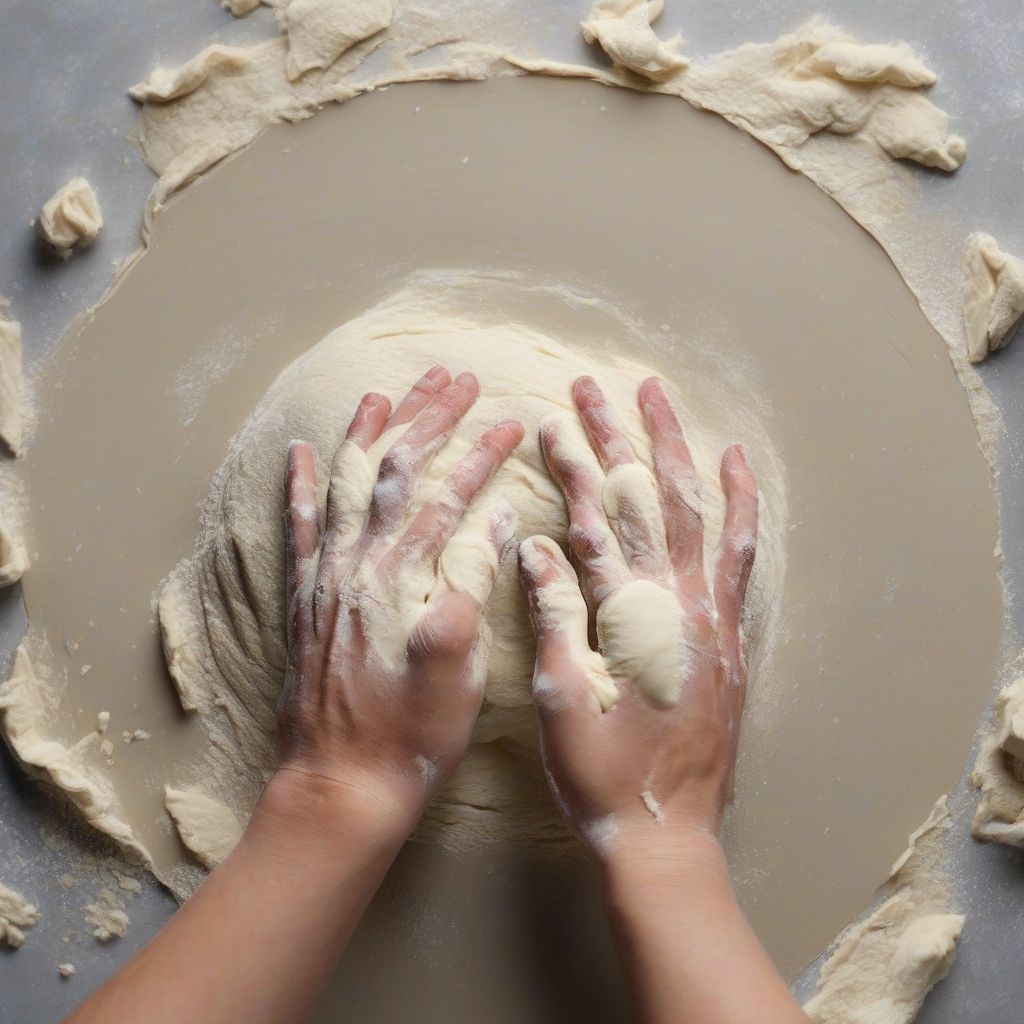 Kneading Dough
[amazon bestseller=”bread baking books”]
Conclusion
From the satisfying rhythm of kneading to the delicate art of folding batter, these techniques are the foundation for delicious, homemade baked goods. By understanding the science behind gluten development and the nuances of different mixing methods, you can achieve bakery-worthy results in your own kitchen. So, roll up your sleeves, embrace the therapeutic process, and enjoy the aroma of freshly baked bread or the sweet reward of a perfectly textured cake – all made with your own two hands.
Have any baking tips you’d like to share? We’d love to hear about your experiences in the comments below. Happy baking!