
Have you ever walked past a bakery, the aroma of freshly baked pastries hitting you like a warm hug, and wished you could recreate that magic in your own kitchen? Guess what? You absolutely can! Making pastries at home is a rewarding experience that’s easier than you might think. Whether you’re a baking novice or a seasoned pro looking to refine your skills, this step-by-step guide will equip you with everything you need to know to make mouthwatering pastries in the comfort of your own home.
Understanding the Fundamentals of Pastry Making
Before we dive into the step-by-step process, let’s establish a strong foundation by understanding some key concepts:
1. Ingredients: The Building Blocks of Deliciousness
The quality of your ingredients directly impacts the final outcome of your pastries. Always use fresh, high-quality ingredients and store them properly to ensure optimal results. Here’s a breakdown of common pastry ingredients:
-
Flour: The foundation of most pastries, providing structure and texture. All-purpose flour works well for many recipes, but you might encounter specific types like cake flour or pastry flour, each offering unique properties.
-
Fat: This is what makes pastries tender and flaky. Butter is the gold standard, but you can also use shortening, margarine, or even lard in some recipes.
-
Liquid: Water, milk, or cream helps bind the ingredients and adds moisture. The temperature of the liquid is often crucial for gluten development.
-
Sugar: Beyond sweetness, sugar contributes to browning, texture, and overall flavor.
-
Eggs: They provide richness, structure, and sometimes leavening.
-
Leavening Agents: These make pastries rise and become airy. Common leavening agents include baking powder, baking soda, and yeast.
2. Techniques: Mastering the Art of Pastry
-
Measuring: Accurate measurements are essential in baking. Use measuring cups and spoons specifically designed for dry and liquid ingredients.
-
Mixing: Overmixing can lead to tough pastries. Mix ingredients just until combined unless a recipe specifies otherwise.
-
Kneading: This develops gluten, which gives pastry dough its structure. However, excessive kneading can create a tough texture.
-
Rolling: Use a lightly floured surface and rolling pin to achieve an even thickness when working with pastry dough.
-
Blind Baking: This technique involves pre-baking a pie crust before adding the filling to prevent a soggy bottom.
Essential Equipment for Home Bakers
You don’t need a professional kitchen to make incredible pastries! Here are some tools that will make your pastry-making journey smoother:
-
Measuring Cups and Spoons: For precise ingredient measurements.
-
Mixing Bowls: Various sizes for different tasks.
-
Pastry Blender or Two Forks: To cut fat into flour.
-
Rolling Pin: For evenly rolling out dough.
-
Pastry Brush: For applying glazes and washes.
-
Baking Sheets: For cookies, croissants, and more.
-
Pie Plates: In various sizes to accommodate different recipes.
-
Tart Pans: With removable bottoms for easy removal.
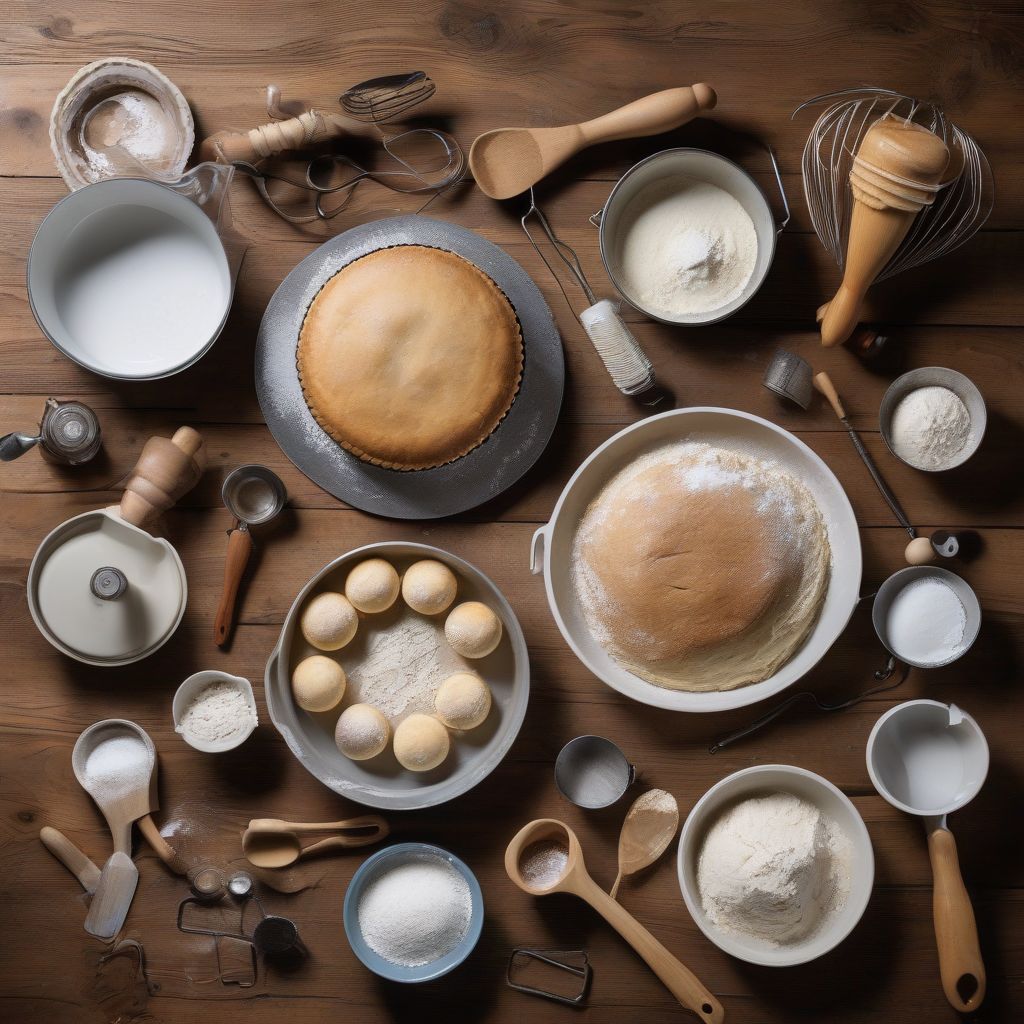 Essential Baking Equipment
Step-by-Step Guide: From Basic Dough to Bakery-Worthy Treats
Now, let’s put your knowledge into action with a classic pastry recipe:
Easy Pie Crust From Scratch
Ingredients:
- 1 ¼ cups (150g) all-purpose flour
- ½ teaspoon salt
- 1 stick (113g) cold unsalted butter, cubed
- ¼ cup (60ml) ice water
Instructions:
-
Combine dry ingredients: Whisk together the flour and salt in a large bowl.
-
Cut in the butter: Add the cold, cubed butter to the flour mixture. Use a pastry blender or two forks to cut the butter into the flour until the mixture resembles coarse crumbs.
-
Add the water: Gradually add the ice water, 1 tablespoon at a time, to the flour mixture. Mix gently with a fork until the dough just comes together. Do not overmix.
-
Shape the dough: Turn the dough out onto a lightly floured surface and form it into a disc. Wrap it tightly in plastic wrap and refrigerate for at least 30 minutes (and up to 2 days).
-
Roll and bake: Once chilled, roll out the dough on a lightly floured surface to a 12-inch circle. Carefully transfer the dough to a 9-inch pie plate. Trim and crimp the edges. Prick the bottom of the crust with a fork.
-
Blind bake (optional): If your recipe calls for a pre-baked crust, line the crust with parchment paper and fill it with pie weights or dried beans. Bake in a preheated oven at 375°F (190°C) for 15 minutes. Remove the weights and parchment paper and bake for an additional 5-7 minutes, or until lightly golden.
-
Fill and bake: Fill the pie crust with your desired filling and bake according to your recipe instructions.
Tips for Success:
-
Keep everything cold: The key to flaky pastry is keeping the butter cold. Use ice water and refrigerate the dough before rolling it out.
-
Don’t overmix: Overmixing develops gluten, which can make the crust tough. Mix the dough until it just comes together.
-
Rest the dough: Chilling the dough allows the gluten to relax and the butter to firm up, resulting in a more tender crust.
Expanding Your Pastry Horizons
Once you’ve mastered the basic pie crust, a world of pastry possibilities awaits! Here are some other delectable pastries you can create at home:
-
Croissants: Buttery, flaky, and utterly irresistible, croissants are a labor of love, but the reward is worth the effort.
-
Puff Pastry: This versatile pastry can be used for sweet and savory dishes, from appetizers to desserts.
-
Choux Pastry: Light and airy, choux pastry is the base for cream puffs, eclairs, and profiteroles.
-
Shortcrust Pastry: A crumbly and buttery pastry perfect for pies, tarts, and cookies.
-
Phyllo Dough: Thin as paper and incredibly versatile, phyllo dough can be used to create both savory and sweet dishes.
Conclusion
Making pastries at home is a journey of creativity, flavor, and the pure joy of baking. Don’t be afraid to experiment, try new recipes, and, most importantly, have fun with it! Remember, even the most experienced bakers started with the basics. So, embrace the process, savor the aromas that fill your kitchen, and enjoy the delicious rewards of your pastry-making adventures.
[amazon bestseller=”pie cookbook”]